In recent years, the Reverse Osmosis (RO) system has become one of the most popular ways of filtering water. However, its mechanism is similar to clockwork – if even one component isn’t functioning properly, you’ll experience regular RO system water drainage.
In a nutshell, here are common reasons for reverse osmosis drainage:
- Low pressure inside storage tank
- Ruptured air bladder
- Damaged Shut-off Valve
- Broken check valve
- Worn-Out flow restrictor
- Faulty RO System installation
- Clogged RO Membrane
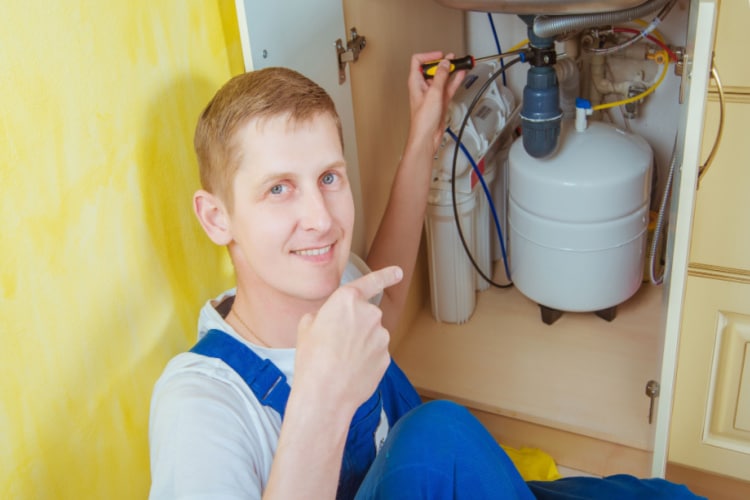
While plenty of things can go wrong in a RO system that can lead to drainage, you’ll be able to fix most of them on your own. You can always hire a professional to attend to your RO system, but if you want to have a crack at it yourself, you will first need to understand how the reverse osmosis system works.
When doing it on your own, the most challenging part is not the fix itself; it’s narrowing down where the problem lies. By knowing the components of your RO unit, you will be able to make a good estimate as to where the problem lies.
But we’ll help you with that! Let’s go through the most common problems of a RO unit, so you can identify the issue and apply fix to the issue causing water drainage.
1. Low Pressure Inside the Storage Tank Can Cause Drainage
Low water pressure is the first thing to check in a draining RO system, as it’s the likeliest offender.
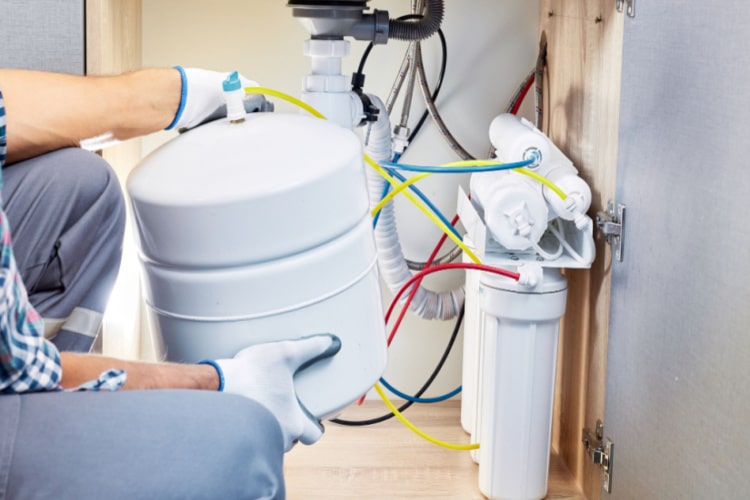
The storage tank is where water is stored after it goes through the RO membrane. The RO system employs a high-pressure water pump to push water through the membrane. Maintaining pressure inside the tank is essential for keeping the system running smoothly. When the tank is empty, the air pressure inside should be between 6 psi and 8 psi.
If your filtration system has drainage issues, you need to check the PSI levels and test if the pressure is too low using a pressure gauge. If it’s lower than 6 psi, then you have to increase it.
How to Fix Low Storage Tank Pressure:
To increase storage tank pressure, you should first try to re-pressurize the RO tank. This relatively easy process requires only two extra tools: a bicycle pump and a pressure gauge.
Here’s how you can do it:
Step 1: Turn off your water supply and shut off the pressure tank valve. Disconnect the tank and take it to a place where you can drain the remaining water.
Step 2: At first, the water should drain quickly. Once the water flow decreases, you will need to use a bicycle pump to insert air into the tank.
The more you pump, the more water will come out. Keep pumping until the tank is empty.
Step 3: Take the pressure gauge and check the pressure. If it’s still lower than 6 psi, you must repressurize the air pressure valve.
Locate the valve stem first and carefully remove its cover. Remember, there’s a second valve that is directly connected to the RO membrane. Stay away from the second valve so that you don’t cause additional damage to the unit.
Step 4: Use the bicycle pump or an air compressor to pump air into the tank. Keep checking the PSI gauge to make sure you’re not over-pressurizing it, as it can cause the tank to rupture.
Step 5: When pressure reaches the standard level of 6-8 psi, stop pumping and close the pressure valve. Replace the removed parts and attach the tank back to the RO system again. Turn on the flow and check if the drainage problem is fixed.
2. Ruptured Air Bladder Can Cause RO System Drainage
Even if the first method yields positive results, the water could still continue to drain from the tank after a few days. In that case, check the air bladder for damage. It has to be able to hold enough air.
If you don’t regularly maintain your RO unit, the air bladder might rupture due to excessive water pressure.
If the air bladder is damaged, there will be little or no water flow, even when the tank is full.
You can easily detect a ruptured air bladder by adding one cup of water to the tank at normal pressure levels.
If the water flow decreases, your air bladder is definitely damaged.
How to Fix Ruptured Air Bladder:
Unfortunately, there is no way to properly fix a ruptured air bladder. You will have to replace the entire RO in order to solve the drainage issue.
3. Damaged Shut off Valve Can Cause System Drainage
Reverse Osmosis water is stored in the tank after it goes through the filtration process. When the tank becomes full, the automatic shut-off valve (ASO valve) is triggered to close to stop the flow.
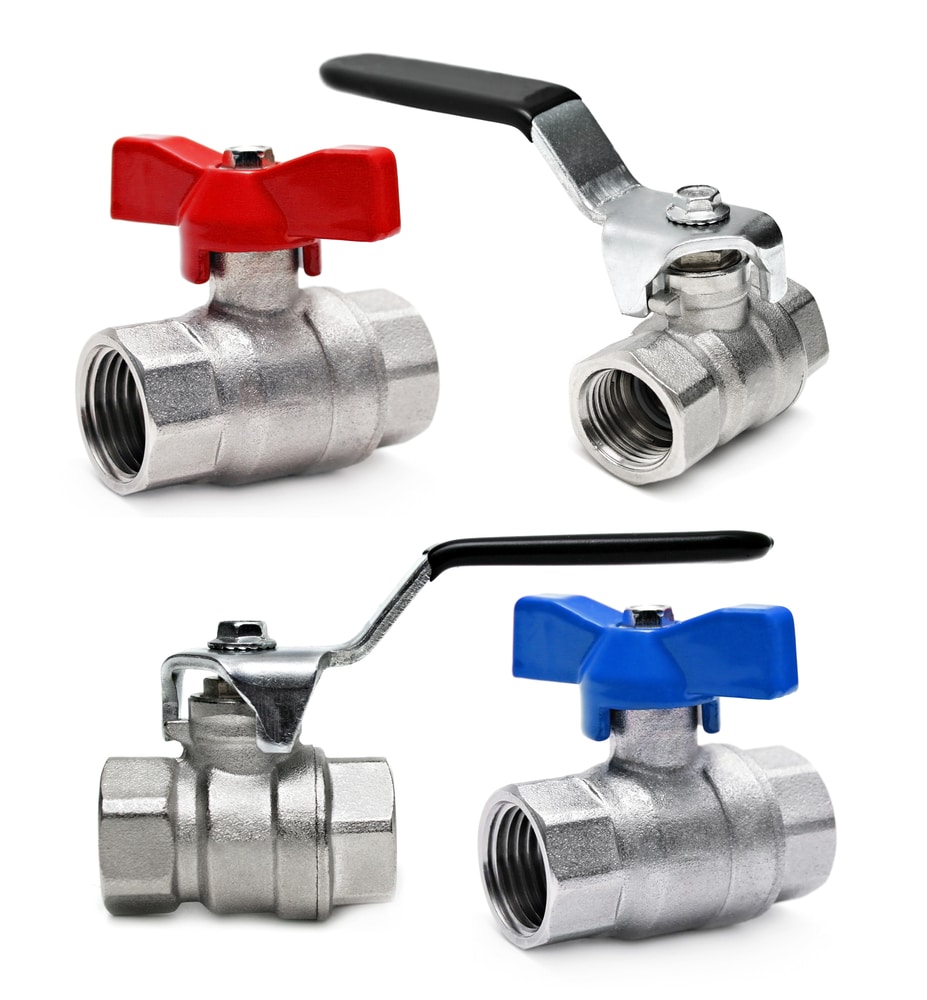
This prevents more water from entering the storage tank.
When the ASO valve gets broken or damaged, unwanted additional water goes into the reverse osmosis system, and the tank starts to leak. Fortunately, detecting a broken ASO valve is very easy.
Fill the tank and keep the tank valve open, then listen closely to hear if the water is draining. You can pull the drain line from the drain saddle to check if the water keeps draining. If it does, this means the ASO valve isn’t doing its job and is probably broken or damaged.
How to Fix Damaged Shut Off Valve:
To solve this problem, you will have to replace the broken ASO valve.
Just follow the step-by-step guide below to replace a broken ASO valve:
Step 1: Dismount the reverse osmosis system to get better access to the valve. You will find the valve at the back of your RO unit.
Step 2: Once you navigate the valve, take note of its configuration so that you can install the new one correctly. The top portion of the valve has in and out markings on it, while the bottom portion is held in place by screws.
Step 3: Remove all tubes connected to the ASO and reconnect them to the new valve. Make sure the new valve is connected in exactly the same way as the old one.
When you’re done, mount the RO unit back and check if the water flows into the drain as before. If not, you have successfully fixed your valve problem.
4. Broken Check Valve Might Cause Drainage
The SO valve shuts down automatically in order to reject the extra water once the RO tank is full. The check valve serves to prevent rejected water from draining.
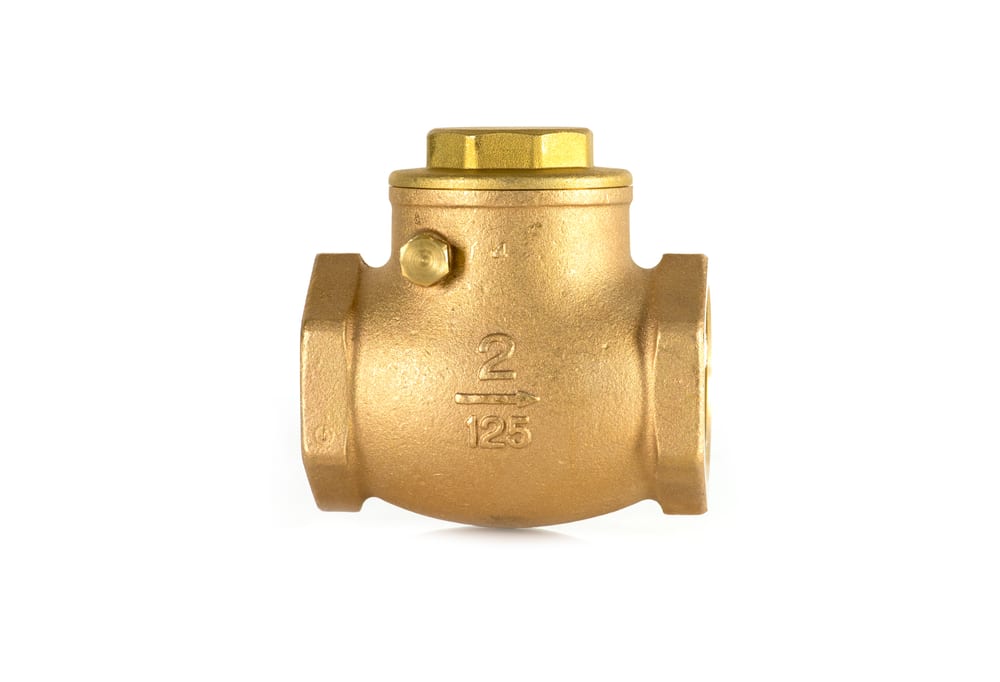
If the valve is broken, the water pressure will push the water into the drain pipe, causing constant drainage.
Broken Check Valve Fix:
Check valves are very affordable and can be easily replaced. So, the best course of action is to get a brand new one.
There are two types of check valves available on the market: straight and 90-degree check valves. We recommend you go for the 90-degree valves as they are easier to install.
There are three main things that you should consider before installing a new check valve:
Step 1: Make sure you choose the right valve for your pipe size, pipe orientation, water flow direction, and flow rate. If any of these do not align with your setup, you will most likely experience inefficiencies or unnecessary wear and tear on your new valve.
Step 2: Always be aware of where in the piping line you are installing the valve.
Some valves aren’t meant for vertical piping runs. Additionally, you need to ensure that the valve is at least five pipe diameters removed from the elbows and other valve fittings. By doing this, you are significantly reducing the potential turbulence that might occur.
Step 3: The valve should always be aligned with the flow arrow. In most cases, you will be able to find the flow arrow marked on the valve itself. Align this with the water flow, and you should have no problems whatsoever.
5. Worn-Out Flow Restrictor
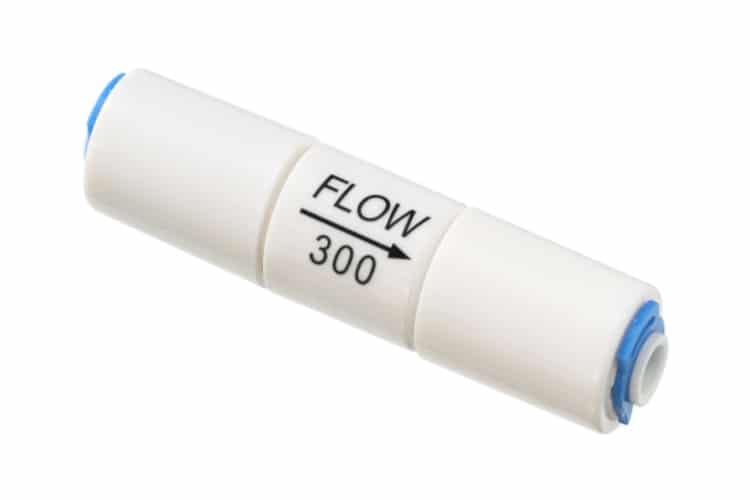
The flow restrictor is a crucial component of a reverse osmosis system, as its job is to gauge when and how much water drains from the tank.
When the restrictor wears out, the high-pressure water flows directly into the drain. This causes the pressure inside the system to decrease.
How to Fix Worn-out Flow Restrictor:
You should replace the restrictor on an annual basis regardless of whether it’s worn out or not so that you don’t put yourself in a situation where you will be forced to act last-minute.
Follow these easy steps to replace your old flow restrictor:
Step 1: Locate the restrictor by taking a look behind the membrane housing on the black waste water line. Then turn off the feed water and the tank valve.
Step 2: Because the restrictor is located between the black tubing and the drain saddle, you need to disconnect the black tubing from the RO system.
Step 3: Remove the worn-out restrictor from the black tubing and replace it with a new one.
Make sure the arrow on the restrictor is facing towards the drain saddle. Reconnect the black tubing to the system and check if the water is still draining.
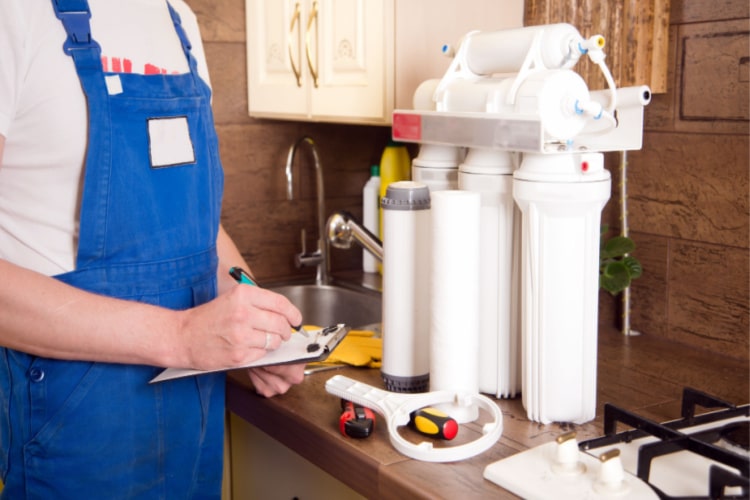
6. Faulty RO System Installation Can Cause Drainage
If you can afford it, it’s always better to hire a professional to install your reverse osmosis system. The slightest misplacement can lead to major issues such as constant water draining.
If you place the wrong tubing on the wrong fitting or don’t place a component in the right direction, the feed water could flow into the drain line.
How to Remedy Faulty RO System Installation:
If you can’t afford or don’t want to employ a professional for the installation, make sure that you are following the product’s instructions to the letter. Take all the time you need to connect all the components correctly.
If you’ve already installed the RO system, dismount it and reinstall it again. This time, make sure that you are double-checking everything in the user manual as you go along.
7. Clogged RO Membrane Can Cause Drainage
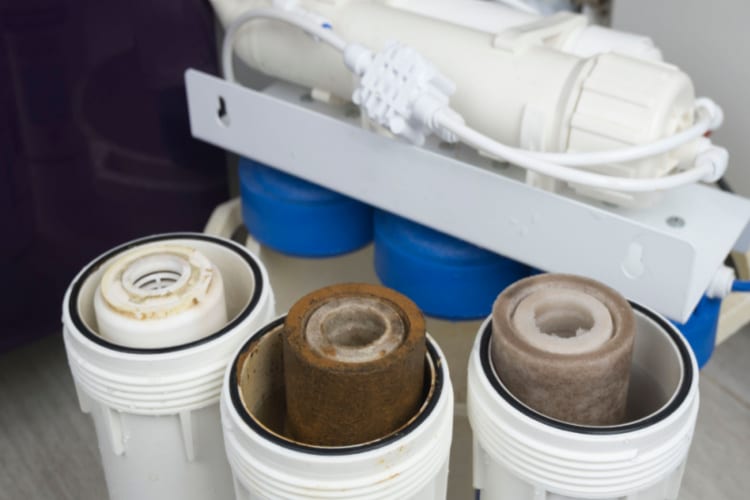
Some parts of RO systems warrant regular replacements so the system can pump out clean water as desired.
Because the reverse osmosis membrane filters unwanted residue, it can accumulate different kinds of debris, dirt, contaminants, and other impurities over time.
You have to develop a habit of flushing and replacing the membrane on a regular basis so that this accumulation doesn’t eventually lead to blockage.
If the membrane gets clogged, the pure water won’t be able to pass through and will go directly to the drain pipe.
The entire system can fail because of one clogged or bad RO membrane.
How to Fix Clogged RO Membrane:
You can easily solve this problem by flushing regularly or replacing the RO membrane.
The process of replacing a RO membrane is complex, so you will want to hire a professional to do the job.
In Closing
Make sure you maintain your RO system regularly, and always double-check the instructions before attempting to fix anything.
Don’t hesitate to hire a professional if the task at hand is more than you can handle.
If you’ve reached the point where you absolutely need to replace the entire unit, check our reverse osmosis systems buyer’s guide for guidance on the best RO systems currently on the market.
Had a ‘constant drain’ issue, the article was detailed and concise. 1/2 hour later, no more issue.
I didn’t get the answer I was looking for. My question that I need to have Is The water that drains out of the osmosis system suitable for drinking or cooking. We have a softener system along with the osmosis system
We are in the country and on a well that trickles into a cistern that we have to fill at $200.00 a fill cause of periods of when the well goes dry. Right now I am collecting the drainage water from the osmosis system so I don’t waste so much water going down the drain. Can I use that water suitable to use. Please help me with this problem
Hi Mary, the water that the RO system is draining out is the “waste water” that contains all of the impurities that it’s passing. Maybe I don’t understand your question right. If I did, however, you definitely do not want to use this waste water if the point of the RO system you have is that you require pure water for your household needs.