A pressure drop is a very common issue in well water systems, and there are several reasons why you might be experiencing it.
You might have sediment trapped in the system, the hard water might be causing blockages, there might be some issues with the pressure tank, or the water pump might not be working properly.
We’ll go over all of the possible issues, as well as the best ways to fix them.

How Do Well Water Systems Work?
Well systems are composed of several components, but the most important ones are the water pump, the pressure tank, and the water storage tank.
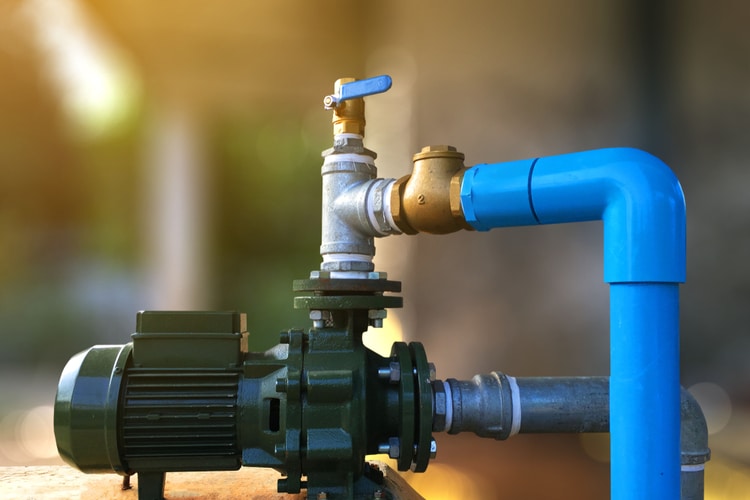
The water pump is located at the bottom of the well, and its job is to draw the water upwards and toward the pressure tank.
The pressure tank takes in the water from the well and stores it until it needs to be transported throughout the house. Some pressure tanks are large enough to also work as containers for the water, while others only serve to draw in the water before they pass it into a large water storage tank.
If you have a water storage tank, it’ll connect to a water filter and maybe a water softener that will treat the water and remove any contaminants before sending it through the pipes and into the house.
If your system only has a pressure tank and not a storage tank, then the pressure tank is the part that’s connected to the filters.
In between every component, you’ll also find a cut-off valve. These are essentially switches that are used to turn off the water and prevent it from going any further down the pipes than where the valve is located.
Cut-off valves are especially important in pressure maintenance since they allow you to shut off the water and check the system pressure without having to worry about water leaking out from the pipes.
There are different systems, and not every system will have the same pumps, filters, and tanks, but, generally, this is the layout of a well-water system.
Signs of Low Pressure
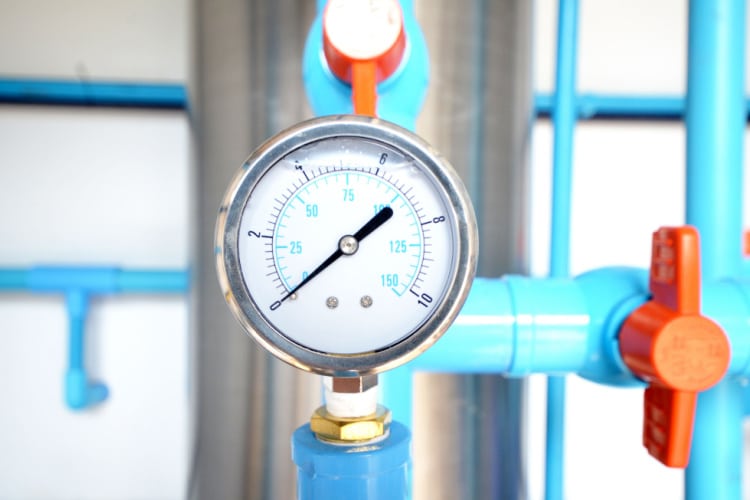
Pressure tanks usually work on a psi between 40 and 60 if the system is working and a few psi just below that if it’s not in use currently. Meaning that if your working psi is 40, then the psi when the system isn’t working should be around 37 or 38 psi.
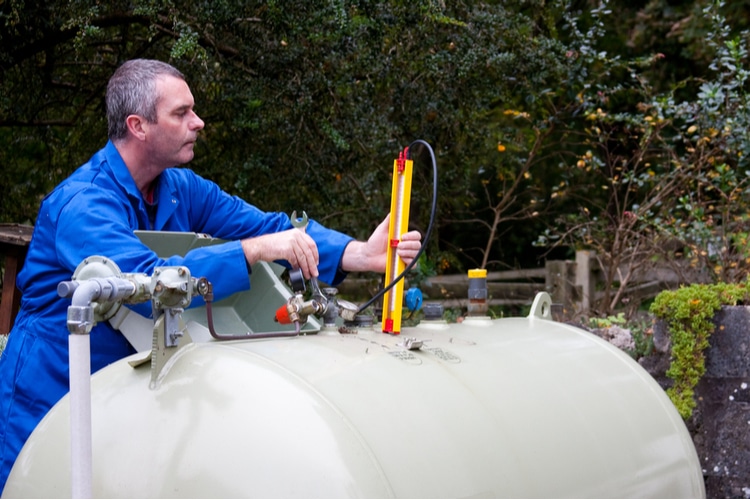
If you don’t have a pressure gauge on top of your pressure tank, there are tools that you can get that you can use to check. All you have to do is unscrew the cap at the top, attach the tool to it, and measure the psi.
Apart from checking the pressure tank, there are also several clear signs that the pressure is low that you can observe throughout the house. Low pressure results in water from the faucet coming out in a trickle rather than a stream. You might also be able to notice that your washing machine or dishwasher is taking a long time to fill up with water.
Reasons for Low Water Pressure
There are several reasons why your system might have low pressure, and they include:
- Sediment
- Hard water
- Pressure tank issues
- Water Pump
Sediment

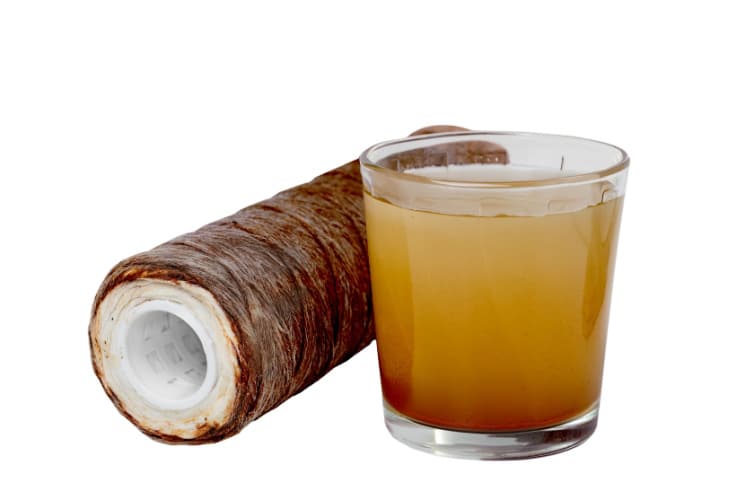
Sediment is pretty much a catch-all term that refers to sand, dirt, debris, and any other material that essentially settles at the bottom of a liquid. Sediment can’t really get stuck in the vertical pipe on the well, but it can start to build up in the pipes that go horizontally into the house.
One thin layer of sediment won’t do anything, but if it’s left for long enough, it can accumulate to the point where it starts blocking the water from passing through the pipes or the valves.
Sediment is particularly tricky to detect since the only real way to find it and clean it out is to take apart a lot of the piping that the well system is made up of.
As we’ve already said, the culprit will likely be located somewhere in the horizontal piping, but that can be anywhere from the well cap to the water filtration systems. The filters get rid of water contaminants, so the pipes that go from the filter into the house should be safe.
Solution
Sediment is an incredibly common issue with well pumps, but it’s a real pain to have to shut off specific sections of the well system and check all of the pipe sections separately. For this reason, we recommend checking for other potential issues with pressure before getting the monkey wrench and taking things apart.
Cleaning sediment from your pipes is a very easy process. You’ll need to turn off the water and then use a wrench to take apart the pipes.
Once you find the section of pipe with accumulated sediment, take a thin brush and gently scrub out the debris inside. Look down the pipe to make sure that there’s nothing left inside, and attach it back up to the rest of the system.
If you don’t have a thin brush or the sediment doesn’t want to budge, then you should take the length of pipe, hold it vertically or at a sharp angle, and run some hot water through one side. The hot water should soften the sediment enough for you to be able to get it with a brush, or you might even be able to clear it by simply passing another gallon of water through the pipe.
Hard Water

Hard water is essentially ordinary water that’s incredibly rich in certain minerals like magnesium and calcium. Groundwater is also particularly rich in these minerals, so most water drawn from wells is classified as hard water.
Hard water has many negative side effects, but one of the more damaging ones is limescale formation. The minerals accelerate limescale formation and cause it to collect in the pipes, especially in the valves and the pipe connections.
Limescale works in much the same way as sediment and causes the water to get blocked due to the mineral buildup. However, since it mostly affects the valves, it’s a bit easier to clean.
Solution
Shut off the water and start taking off the valves that connect all the pipe sections and the tanks. Run a visual inspection and check to see if there’s any mineral buildup inside the valves. The clean ones can be put back where they were, whereas the ones with limescale buildup will need to be cleaned.
Take a bucket, fill it up with hot or at least warm water, throw the valves inside, and let them soak for, say, 15-20 minutes. Once the water has cooled somewhat, start taking out the valves one by one.
Using a toothbrush or any other small hard bristle brush that you have handy, start scrubbing around the rim of the valves, as well as inside of them. The warm water should have loosened the mineral buildup, and a little elbow grease should be enough to remove it entirely.
Once you’re done, go ahead and place all of the valves back.
As you can tell, the procedure is more or less the same as for sediment buildup, but valves are easier to take off and clean than a length of pipe. It’s also much easier to see if there’s any limescale buildup on valves with a quick visual inspection than it is to check pipes for sediment buildup, as you don’t have to dismember the piping.
Pressure Tank Issues

If the pressure tank is damaged or not working, then there’s nothing you can do. Your best bet is to call someone from the company that you bought it from or to get a plumber to check things out and see if it’s salvageable.
However, if the issue with the tank is that the pressure is too low, you can easily fix it yourself.
Solution
Take your pump pressure switch and open it up. The front cover of these switches can usually just slide off, though some models might have some sort of latch or screw that needs to be undone first.
Once you open the switch, you’ll see two spring-loaded nuts. The larger nut controls the psi range and it’s the one that you’re going to be tightening. Keep an eye on the pressure gauge or keep your pressure measuring tool within reach while doing this.
Turning the larger nut to the right increases the psi, which is what you need to do if the pressure is at, say, 33 psi. You need to get it to at least 38 before the system can work properly again.
Once the psi is in the 37-39 range, close the switch back up, and the system should work just fine again.
Keep in mind that if the pressure drops again in the span of a day or so, then you might need to replace the nut since it’s probably loose and dropping the pressure in the tank.
Water Pump

There are two main reasons why the pump might be causing issues for you. It’s either damaged or you got the wrong pump for your system.
Solution
Taking the pump out of the well is a slow process, and if you manage to get it out yourself, you’ll still be unable to fix any potential issues that you might have. For this reason, if you’ve confirmed that the issue is not sediment or hard water, then we’d call in an expert and have them examine the pump.
There’s a plethora of problems that could cause low water pressure from the pump, but all of them require that you either replace a part or buy a new pump. Either way, you need someone to tell you exactly what the problem is and how you can fix it before you do anything else here.
The other issue that you might run into is if the water pump you got isn’t compatible with your well system. This usually happens with DIY wells and with people that don’t know the difference between the different types of pumps and which model is better for which depth of well.
Again, the solution to this issue is to simply call in a professional and have them recommend a pump model based on the exact specs of the well and the system you have.
Summary
Here’s how you check why the water pressure in your system is low.
Make sure that the pressure in your pressure tank is close to the 40-60 psi range and adjust it if it’s not.
Check your pipes and valves for sediment and limescale buildup and then use hot water and a brush to get rid of it.
If all of that fails, you’ll need assistance – call in a plumber and have them check whether the water pump is damaged or incapable of pumping water through your system.
If it turns out that’s not it either, then we’d suggest not sending the plumber home and getting them to check the system because the pressure issue is something a bit more complicated and a professional will need to take care of it for you.