Water softener cleaners are easy to use once you get the hang of them, but they remain hazardous chemicals. So, you need to be careful with them by learning how to utilize them correctly.
To avoid costly mistakes, we’ll take you through everything you need to know before using water softener cleaners.
Precautions Before Using Water Softener Cleaners
Water softener cleaners are hazardous chemicals and should be handled with care. So, before diving into the step-by-step guide, let’s first understand the precautions you must take.
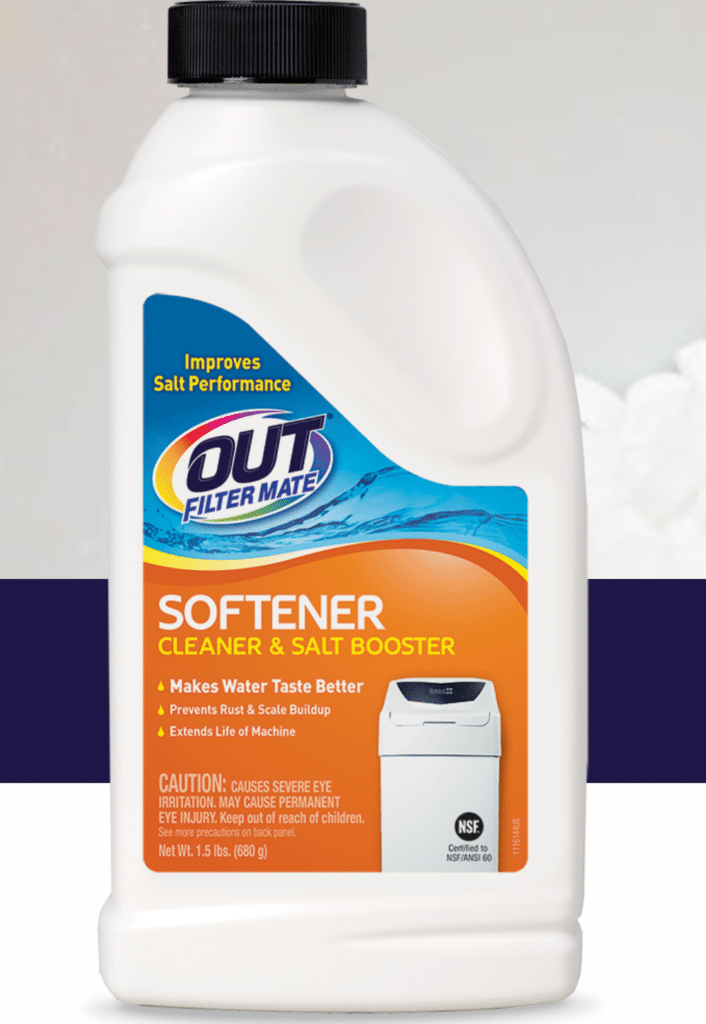
Cleaning chemicals, including water softener cleaners, have powerful formulas because they’re made to eliminate various contaminants and bacteria effectively.
Typically, such potent solutions come with warning labels. However, in some cases, even the substance itself will have tell-tale signs of its high toxicity. For instance, liquid cleaners release a distinct and strong stench when you open the bottle.
The fumes of these chemicals are very unsafe to breathe. Ensure you don’t breathe them in by wearing a protective mask and ventilating the area where you’ll use them.
Next, store these chemicals away from your living quarters, and check that the cap is always firmly and securely closed. The most convenient place to keep these cleaners is next to your water softener, but if you use the room for something else and are afraid it’s unsafe, it’s better to store them in a sealed container away from anyone’s access.
Water softener cleaners also come in powder form. The powder cleaners are much less smelly but equally dangerous. If the substance comes into contact with your skin and eyes, it may lead to irritation, redness, or rashes.
We strongly recommend wearing gloves and a mask when using these chemicals. Additionally, while many think eye protection is overkill, protective goggles keep your eyes safe and your sight unimpaired.
If you don’t have a mask, a handkerchief around the mouth and nose will also do, or you can raise your shirt over your face. We don’t recommend this approach, but it’s better than freely breathing in toxic fumes.
All of these precautions are to help you reduce your exposure to the chemicals themselves, and the vapors they release.
Keep your face as far away from the bottle as possible, ensure you don’t spill anything on your skin, and walk away if you notice the strong smell and are in an unventilated room.
To Sum Up
- Make sure the cleaners are kept away from your living area
- Secure the lid on the bottles tightly and ensure there are no leaks
- Wear protective gear like gloves, goggles, and a mask when using these chemicals
- Keep your face as far away from the top of the bottles as possible
- Handle the cleaner with care and ensure none of the liquid or powder touches your skin or eyes
How to Use Water Softener Cleaners?
Now that you know how to safely handle water softener cleaners, let’s explain how to use them step-by-step.
Step 1: Open the Salt Tank
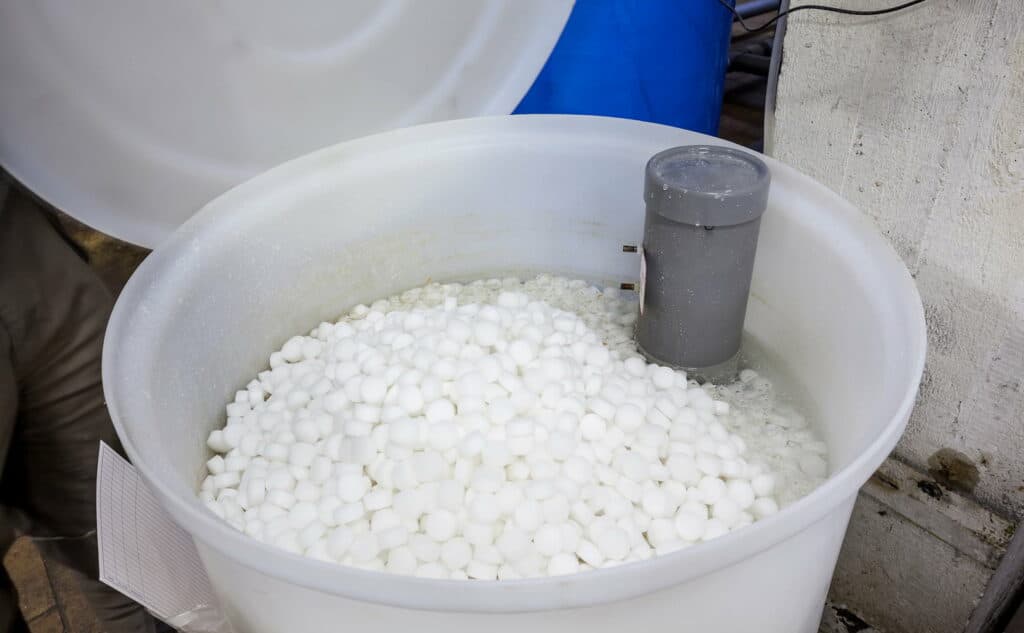
All water softener salt tanks have cylindrical tubes inside of them. This is known as a float assembly or a well. The salt in the tank is mixed with water, and the sodium-enriched solution at the bottom is then sucked through the float assembly and carried into the resin tank when the regeneration cycle starts.
The well has a removable cap on top so you can see the floatation device inside. From this opening, you’re also able to pour your cleaning solution.
Warning: Ensure you don’t pour the solution into the salt tank. The cleaning solution will dissipate in the salt and become diluted. Once the regeneration cycle starts, the chemicals won’t be potent enough to remove the contaminants inside the resin tank. Not to mention that your salt will also be contaminated, so you’ll need to throw it out and pour a fresh bag into the tank.
Step 2: Prepare and Pour
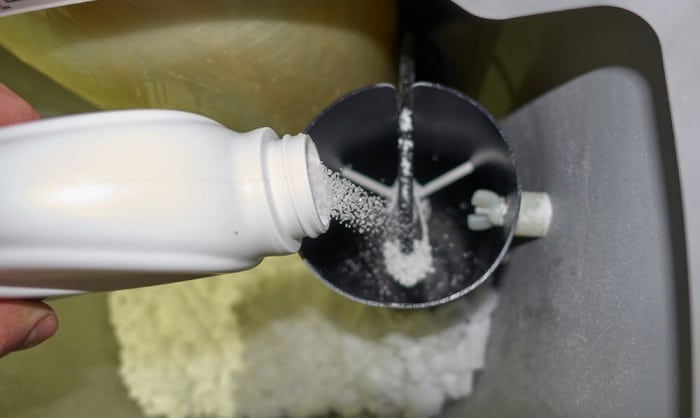
Once you’ve opened the well cap, it’s time to add the cleaning solution.
Different brands use different measurements. To determine the appropriate quantity of cleaning solution, refer to the instructions on the back of the bottle.
Small 16 oz bottles are generally one-time-use cleaners, so the label will probably instruct you to pour the entire bottle into the well. However, you must measure larger 4-lb bottles in a separate cup before adding the recommended amount.
We recommend keeping a separate measuring cup just for this cleaner somewhere close to your water softener since you’ll need to do this 2-3 times a year, depending on the brand and cleaner type.
Additionally, if you’re using powder cleaners, you’ll need a container to mix the powder with water. Add the required powder into the container, pour the necessary water, and stir.
Once your cleaning solution is measured and prepared, all that’s left is to pour it into the float assembly.
Step 3: Start the Regeneration
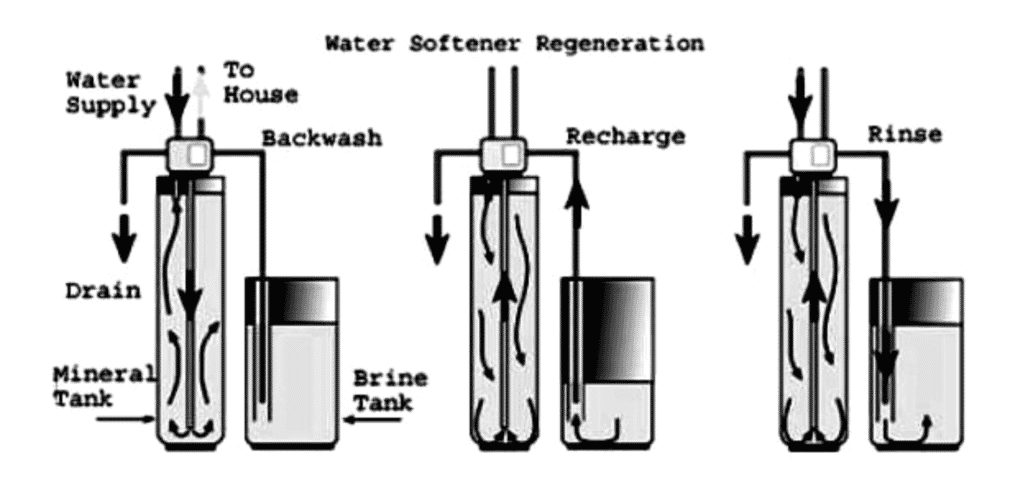
Once you add the water softener cleaner to the well, put the top back on, close the salt tank, and manually start the regeneration process.
The resin tank will automatically take in the cleaner, and the solution will cover the beads inside. The regeneration usually lasts 2 hours, during which you won’t have access to your water. So, it’s a good idea to put 2 or 3 bottles of drinking water to the side just in case.
When the regeneration process is completed, the wastewater will be expelled from the resin tank.
With this final step, your resin tank is officially cleaned and ready to soften your water as efficiently as you first bought it.
Step 4: Turn on the Water
The water softener should remove the cleaning chemicals from the tank with the wastewater, but let the water run for 5-10 minutes to make sure everything is washed out as a precaution.
If the water doesn’t have a strange smell or taste, you can move on with your day knowing you’ve correctly cleaned your water softener.
Brief Summary
- Open the salt tank and remove the cap from the well
- Mix and measure the exact amount you’re supposed to add to the system
- Pour the cleaner into the well
- Close the salt tank and start the regeneration process
- Wait for the regeneration process to finish
- Let the water run for 5-10 minutes just to ensure all the chemicals have been flushed
- Pour yourself a well-deserved glass of softened water